September 27, 2017

Ceaberry's Homesteading: Cooking Wild Mushrooms

Mr. Native Farmer likes to find mushrooms in the woods around our county. We normally find them right here on the farm but sometimes we need to go into the deep woods to get them. Please remember to be responsible when mushrooming and obey any local laws. Now back to the mushrooms. We collect morels, chicken and hen of the woods, bear's tooth or lion's mane, and black and orange chanterelles. Now a note on chanterelles and chicken of the woods, yes both of these mushrooms are BRIGHT orange but there are imposters. Jack-o-lanterns (which glow in the dark) look oddly like a chicken mushroom and a chanterelle. It is DEADLY, you need to know what you are looking for when mushrooming. Now there are false chanterelles and while they are not deadly they do cause tummy upset if eaten it larger quantities. The difference is subtle if you don't know what you are looking for in mushrooms. There are false morels as well, again they can cause death if eaten in large quantities. So that warning aside, we mushroom a lot and we know what we are looking for and if we are not sure we don't eat it. Well, I should say the husband doesn't eat it. I can't eat wild mushrooms or deer meat for that matter. Something just doesn't agree with me.

Now I do cook them. I tend to sauté them in butter with a little bit of salt (it pulls out the moisture). With wild mushrooms its critical to cook them thoroughly. With chicken of the woods I add chicken boullion cubes. They are delicious that way.

So the other day my husband brought home lion's mane (bear's tooth is a bit more tubular) and a few chicken of the woods. You want bright colors and very little insect problems. Larger chicken of the woods can be riddled with beetles. If you get a huge clod of it, put it in the refrigerator in a closed paper bag for a few hours, it doesn't kill the beetles but it slows their little butts down. 

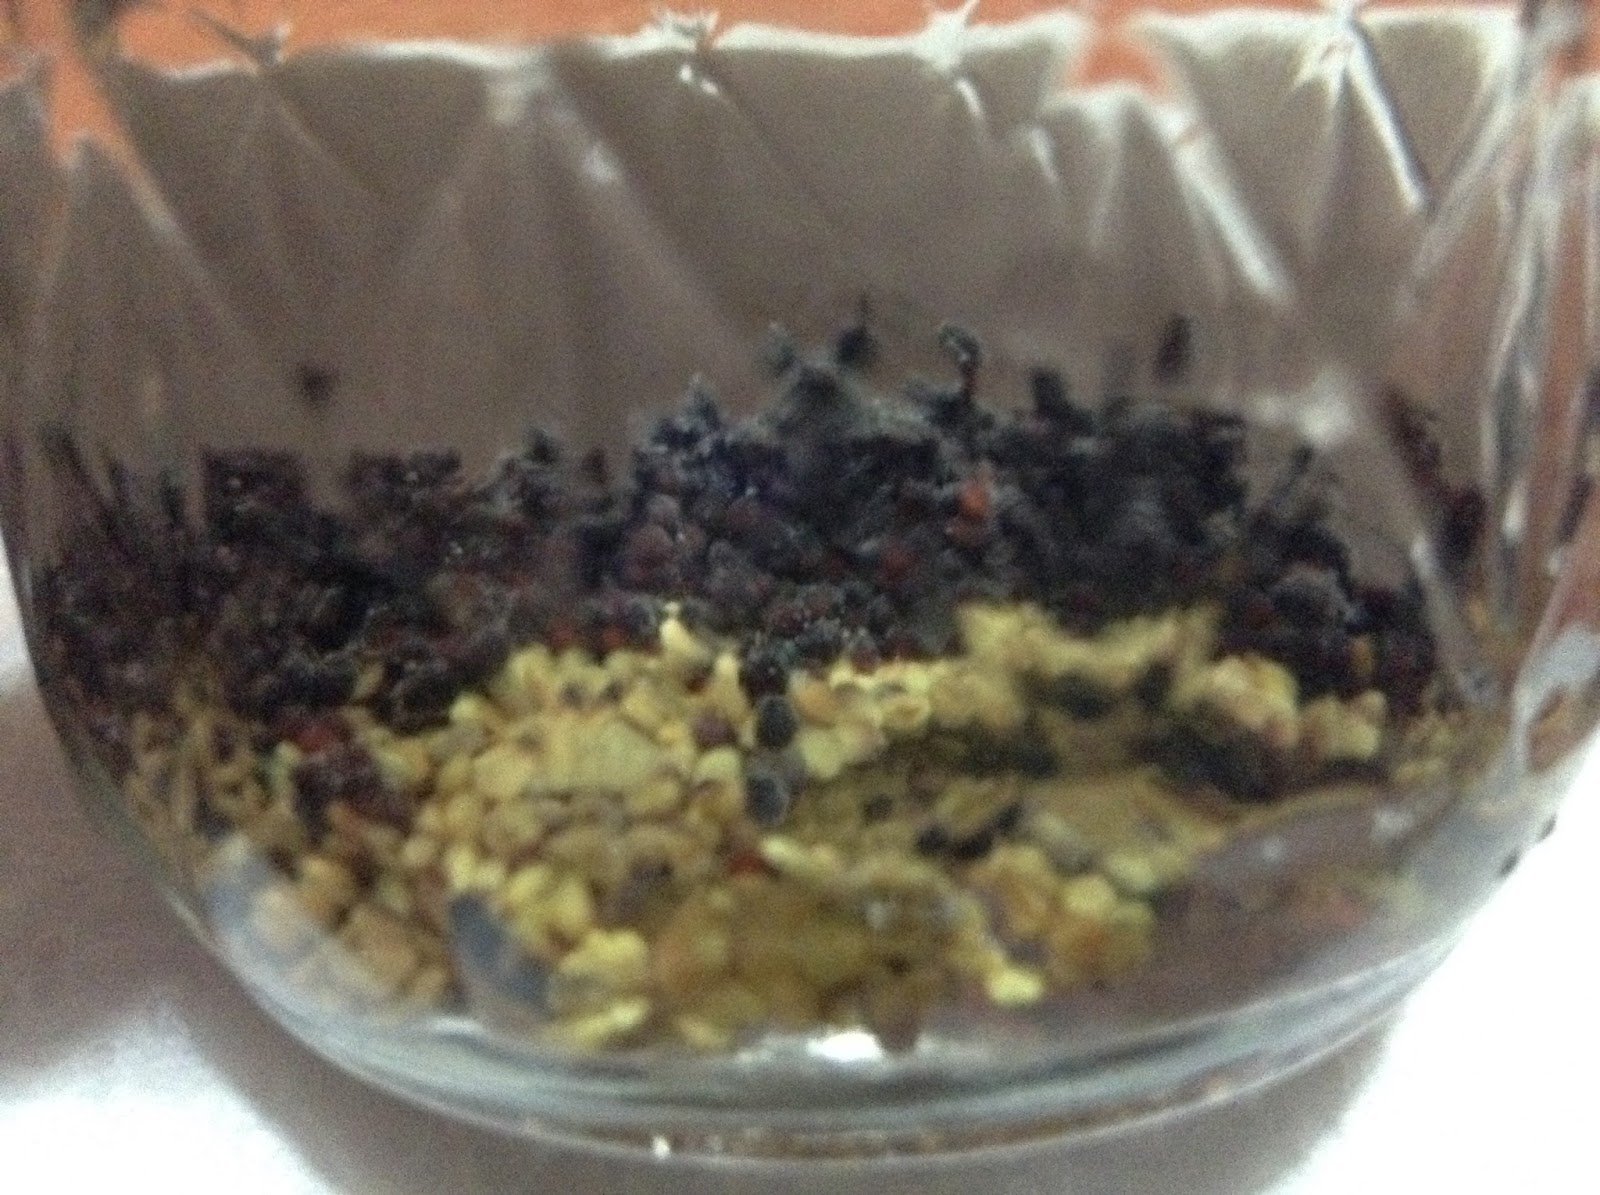
This is how I was presented with the mushrooms. It is always a surprise when he comes home with mushrooms so I always have to think fast.

Here is the mushrooms out of the bag and prepared. The lion's mane is easy. It is attached midway up a tree so it rarely has dirt or debris. The chicken is also attached to a tree but a little lower so I just cut off the backs and it is mostly clean from there. 

I put all the mushrooms in a pan and put it on medium heat. You don't want it too high at first or the mushrooms will burn before they release their water. I put salt on them to help the issue go a bit faster.

When they start to release their water I put in the butter and turn the heat up to medium high.

I sauté them down until they no longer release water. This is really hard to get right. You just have to do it and each batch is different. Mushrooms go from stiff to rubbery to stiff when completely cooked. The water they give off is replaced by the butter (and chicken bouillon if making chicken of the woods) so the mushrooms absorb that loveliness.

It isn't that hard to cook wild mushrooms, generally the hardest part is harvesting the RIGHT mushrooms for the job. Again if you ever in doubt it isn't worth the trip to the emergency room.

Happy Homesteading!


September 26, 2017

Ceaberry's Homesteading: Second Coop

For our little chicken, bought for a mere $2, we built a whole new coop. Well, technically Mr. Native Farmer coerced me into building a new coop. While I still need to work out the wheels, we built a coop out of an old bunny hutch my husband brought home one day to be my actual coop (now he sees why I laughed when he said it would house my 6 chickens I originally planned on). We added supports and I stapled around the bottom. We added a ramp and made it a bit more stable. 


We added a metal roof so it wouldn't leak as bad and cut holes in it for windows, which I put more chicken wire in front of to keep critters out. I added latches to the doors and we were in business!


We placed them on a hill near the bushes I cut down earlier this year to help take the grass away for next year's project. 


 Here are the girls in the new coop. There is also a cochin bannie and a silkie rooster.


They make quick work of their run area, even when I extended it. This was after only 1 day! Good chickens!! They have done a good job, but I need to move them toward their final destination, down below the hill. Before I do that I am going to finish putting 4 wheels on it. This coop is easily 300lbs and we have found just two wheels won't work. Now that I actually have the right boring tool it should be easier to complete!


Now on to something a little less pleasant... Mr. Native Farmer had gotten a rooster from the farmer's market and he was gorgeous! We were excited to add him to the flock. Unfortunately less than a week after having him he had massive heart failure and died within a day. Big Joe will be forever missed even though he was only with us a short amount of time. A combination of pecking order and dogs attacking our coop was too much for him in that short week.


September 25, 2017

Ceaberry's Monday Musings: Egg Envy

When we got chickens it was for the eggs. Our initial set of pullets were born sometime in early April. That means our pullets wouldn't be ready to lay until at least September. Mr. Native Farmer isn't a patient person and he gets a bit of look-over-the-fence-itis. We have 17 chickens, 14 hens and 3 roosters (that many roosters isn't as bad as it seems). Now technically we should be getting 10ish eggs a day by now. My lovely husband is getting restless, he sees the eggs our cousins are getting or a neighbor are getting and he complains a bit about out 3-a-day average (our biggest amount was yesterday at 6 and today was 2 eggs). Let's note both the neighbors and our cousins' chickens were born in February and purchased in March. One set are Rhode Island Reds which lay 2 eggs a day, and the other set are a mixture of chickens who also tend to lay 6 times a week. Our chickens on the other hand are 2 months younger and the breeds range from 3-6 times a week. I do have to say the ones that are only suppose to lay 3 times a week definitely exceed that at the current moment, they lay more like 5 times a week.


In the last two weeks we have been getting more and more "first eggs" here on the farm. One day we had 2 first eggs. Now for those of you who haven't had chickens before (raises hand), first eggs are a bit of a shocker. Most blogs will tell you about the hilariously small eggs from new layers but they forget one fact. First eggs come out a bit bloodied. We have had from a small spot on the shell to down right covered. Yup it isn't pretty, which is probably why no-one mentions it or photographs it. Don't worry no photos of bloody eggs here either but I thought you should know if you are waiting for your first eggs.


As for size... I finally got a hilariously small egg AFTER getting 5 new layers first. Yeah, my hens laid pretty decent sized first eggs. Actually, I even thought maybe a bird from outside had gotten in and laid an egg it was so tiny compared to the other first eggs. My hens are also laying in the pine shavings and not in the nesting boxes (sigh) so finding that tiny one was quite a trip. I believe it was from a silkie based on the size of egg it will eventually become. My other first eggs have been on the border of pewee and small in weight so not so bad, but the smallest was only 19g instead of the 35-40g of the others. Today I had a first egg weigh 37g and a sebright egg (one of my few white egg layers) weigh 35g so it was bigger then my normal eggs!


Brown leghorn (bottom and left), First egg -- cleaned (middle), and Sebright -- it looks cream but it was white (top and right).

We have about 8 new layers, 4 old layers and 2 undecided. One of our Brown leghorns decided to go broody so no eggs from her for a while, it took my sebrights about 2 weeks to recover from when they went broody on me in the summer. Now, experience chicken owners may know, leghorns aren't typically good brooders, and they lay white eggs (they are what most of the eggs are in the supermarket). This leghorn went broody and its the one that lays cream eggs so go figure. The two chickens not laying are the little bannie, she is only 5 months old and I believe one of my australorps that may be a rooster... but she just looks like a rooster, she doesn't act like one.

Happy Homesteading!


September 22, 2017

Ceaberry's Homesteading: Sprouting for Chickens

Sprouts... people think it is so easy to just put some holes in something add seeds and soak and forget. It isn't that easy. Some climates are better suited for sprouting, both inside and outside. You need a dry environment but a moist substrate. You also need a place away from fruit flies (the bane of all sprouts) and a place to store the sprouts while they are growing. It is much more intricate then add some water each day and BLAM sprouts. Now I am going to show you how I do it. I have done the trays, water and soil and I am now doing canning jars. Let me say, my house is NOT for 1. outside sprouting, 2. tray sprouting, and 3. water tray sprouting. 

I started out with jam jars. I had some cheese cloth laying around from a previous cheese making kit that I had eons ago. So I cut out squares and added my sprouting seeds. Sprouting seeds are designed to sprout quickly and with high rate of success. Most are human-food safe but check your sources to make sure. I am using mine for chickens so I am not too terribly concerned with me eating them. I started out with red lentils, broccoli and clover. I put warm water in the jars to let them soak during the day.


After the soaking period, I rinsed out the water and turned the jars upside down on a warm spot. I had just turned out off my even so I put a burp cloth under them to catch the water.


After a few days I was supposed to have beautiful sprouts. You know those pictures on pinterest of overflowing sprout jars. 1. I never expected a full jar, I didn't put enough seeds in there for that and 2. did I mention my house isn't the best for sprouting?


So I gave it a couple more days....


I even did an alfalfa and broccoli mix since the lentils didn't make it past the first bit of sprouting.


Even more days later... FINALLY, sprouts.


So I took a break from that until I have a fire going in the winter to have nice warm environment for them to sprout and fresh greens for the chickens. Not everything works the first (or fourth) time you do it and you have to constantly try and adjust to the environment but hopefully we will get this sprouting thing down... I know my chickens are waiting with baited breaths.


September 18, 2017

Ceaberry's Homesteading: The Chunnel

For those of us not in Europe or the UK, using the word chunnel isn't confusing. The Chunnel in the UK and Europe connects the two places. It is the channel tunnel aka the Chunnel. This is a homesteading blog, so a chunnel is a chicken tunnel. I built one using 2x2s and some chicken wire. It is going to be attached to the second coop at some point. It was a very easy construction. I made a rectangle, then attached risers to a support beam at the top. Covered with chicken wire and made a makeshift door for now. I did make the support beam at the top stick out because I was going to move it all around the yard.


Hope that gives you some inspiration to try and make a chunnel yourself. I have a second design in the works but more on that later. Happy Homesteading!

Ceaberry's Monday Musings: Taking a breath

On a homestead there is a lot of work to do. That is an understatement, it is a 24/7 job. I tell Mr. Native Farmer that when he leaves work, he gets to leave work. The homesteading, stay at home mom, and small business owner me does not ever leave work. Granted when he gets home he becomes daddy and son of a family farmer so really... he never leaves work either. We had a Sunday planned that was supposed to be peaceful, taking our time and enjoying a day after some hard work from the day before.

We helped cousins start a bigger run and coop for their 6 beautiful chickens and we need to go back and finish the job sometime soon. Let's just note I put in 1500+ staples without getting a blister. I don't think that is a proud moment more like a show of how much stapling of chicken wire I have been doing lately. I was making sure the chicken wire was secure, they have a much bigger dog problem then we do and they had a bit of duck tragedy recently.

I let him sleep in, it was his weekend. We do that, we alternate weekends of sleeping in, normally it is just one day of that weekend but its good to know that the option presents itself. We also alternate nights (or mornings) when the kiddos arise before the chickens. It doesn't matter if you're sick, tired or just went to bed, if its your night then its your night (or weekend). Anyway, I get him up around 9 and I was just finishing up the dishes (which is why I got him up to watch the kids since I was busy for the next 30 minutes and they are a bit too spirited so early in the morning, I had been up since 5am). The phone rang, he was off to work to put in some cattle. Our plans for the day up in the air again! When he got home we went to go pick tomatoes, you know the ones we don't eat, from his boss' garden. I am so looking forward to all the tomato powder I am going to get from these lovelies to boost my stews and sauces this winter. It is really a different taste one must experience in life... even if you don't like raw tomatoes.

Having a homestead can have you hopping all day, every day. Then having kids keeps you on your toes during the wee hours of the morning. Let's throw in some kittens we have inside until they are fixed and weaned. Why don't we add in the family farm needing to be tended, along with my own business. Taking a breath is something that should happen more often then it does and it is well needed when it does happen.

My breath moments come when I do a bi-annual ritual of watching Dancing with the Stars with my Mother-in-Law and my Aunt-in-Law. We go to my AIL's house and watch the show, eat some sweets, drink some coffee, and chew the fat. It is 1-2 hours away from being... well... me. I get to be the person I was before kids, marriage and homesteading. I don't have friends my age near me. I had a select few friends in High School (Mr. Native Farmer was my best friend in those days), all of whom have moved away from our impoverished area to find better opportunities elsewhere. My college friends are even further flung afield and my Scotland friends are even farther spread then those. I tend to make friends with people who like to travel, even my friends from when I was younger in Texas have spread out to far reaches of this Earth. So no, I don't have anyone my age except my husband to really relate to, so these times with my in-laws (who are apparently awesome since I choose to spend time with them regularly) are my "adult-single-kidless-me" time.

So if you are wrapped up in homesteading and you find yourself doing the dishes at 4am or even 2pm and you find yourself sighing. STOP, take a breath. Your body is telling you, whispering to you stop. Many things about becoming all my titles is learning how to let it go, let it slide, and knowing you can't and won't get it all done today, maybe not even this week, but it will get done, or not. The world will keep changing. If I have an empty dirty laundry basket, inevitably about 5 minutes after enjoying that fact my kids will pee on the floor (potty training at its finest here) or I dunno... spit tea all over their room and their white shirts. So before going off the rails with the unfairness of that, take a breath and laugh a little. Take life a bit less seriously and everyone will be happier for it.


If you seem to not be able to bring yourself to that: Please feel free to download this photo and put it as your background.

Hours old kittens

Or 6 week old kittens

Now doesn't that make you smile?? Happy Crafting and Homesteading!!


September 15, 2017

Ceaberry's Homesteading: Chicken update 1 -- Silkies!

We got some new faces around the homestead in August. We bought locally 4 silkie chickens, 2 hens and 2 roosters. They are such characters and they have added to our flock nicely. Who doesn't love these fluff balls of the chicken world?


Ceaberry's Homesteading: Taking Vermicomposting to a new level

Mr. Native Farmer looked at me like I was crazy when I asked that he put the old bathtub down in the lower garden. He couldn't figure out what I was going to do with the tub. Multiple ideas sprouted to mind but alas, he couldn't even fathom what I actually did with it. 

It became a worm bin. Yup. Worm bin. I need to amp up the amount of worm castings to fill my raised beds next year. In came a larger worm bin. I have currently separated my worms but for the winter every one is going in there. I am surrounding it with hay bales and forgetting it for most of the wintertime. It may not look pretty yet but it will turn into a bench back with an arbor behind it (boy do I have lofty goals?). 

I put screen in the draining holes then a bit of gravel near the holes then back filled with creek rock/dirt mixture and added topsoil. Then I added my worms and some food for them. Put on a makeshift lid and let them get to work. It is working so far and I am happy to see my worms just munching away! It is set on two high cinder blocks (6 in total so three sets). It will be framed around and a nice top fitted with a bench in front of it and a cushion and an arbor behind it with our heirloom grape vines expertly intertwined with it. You're laughing aren't you? Its doable, I swear.


September 14, 2017

Ceaberry's Homesteading: Heading into Late Summer

So the garden has its last little legs to go and on September 1st, I put of my last set of radishes. Oh radishes the bane of my existence. What isn't the bane of my existence are my snapdragons. Funny my favorite color would make a second appearance (just wait until the next update!) and it made me happy to see the new flowers poking through.


A little later on in September my snapdragons blushed a bit more and the celosia just took on a growth spurt! My begonias also took on a new life!


Here are the radish seedlings, Champion radishes. I will talk about what happened later with these little hopefuls... it is a bit face palm at the moment.

Continuing into the second week of September my snapdragons hit a growth, or should I say, blooming spree. My gracious!! Now if only the tomatoes would actually ripen...


The garlic is looking great... for well garlic.


My Rose of Sharon is blooming nicely even after all the pruning! 


Well that is it for now, I have to get the other photos processed. I am sorry for the silence lately, the family caught a cold and you know men when they get sick... at least my husband, he gets so cranky that its like I have 3 children and he is the youngest. I will be back on a normal schedule soon!!


September 2, 2017

Ceaberry's Homesteading: Cotton Growing

You may have seen my previous updates showing my cotton plants. I bought seeds at MRC Seeds (not paid endorsement). I got some white cotton seeds and some green cotton seeds. I placed them in three pots to begin with and something happened and I transplanted all the healthy ones into 1 pot. I went from 20 seeds to 5 plants. Not a problem except I didn't remember which variety was where so I had no idea what plants had actually made it. I now have 3 healthy plants in one pot.

Here are my cotton plants, my uncle-in-law told me sometimes on how to grow the cotton. He used to grow some plants here and there on this very property. So I was encouraged to try it myself, global warming couldn't have affected here too much right?! 


After a LONG wait, flower squares showed up. I was so excited. I would peek in the bigger ones watching the little flower buds starting to form.


Then... on Monday August 28th, my wait was over! A flower! One beautiful, perfectly wonderful, YELLOW flower. Yellow?! Cotton flowers are white normally. But green cotton flowers are yellow!! I may have done a bit of a happy dance.


Then a second one appeared the next day! These are all on the same plant.


This is the first flower after 24 hours. Cotton flowers don't last long, 24-48 hours before the next gorgeous stage happens.


The next day, that beautiful yellow flower looked like this, yup pollination happened and now the flower turns pinks and closes to create the boll. 


Here is the second flower just pink in the edges and a third yellow flower! 


So now to wait for the other flowers to bloom before the frost hits and then the long wait for bolls. Cotton takes 180 days (thats 6 months) to be completely dry. I have 2 weeks before frost and I need to bring the plants indoors, something I haven't quite told Mr. Native Farmer yet...


A note on my reason for growing cotton. Although I know it is a touchy subject for some of my readers, I am growing cotton because I am a spinner. Yes, I am from Texas, and I am a proud southerner. I live in West Virginia (which was neutral in the Civil War), where growing cotton isn't illegal. West Virginia isn't known for its abundance of cotton farms. Now, that being said I have been up against racism from people who told me I should be ashamed of being 1. white and 2. a southerner because my family had enslaved their family. I would like to kindly note, my family (from both sides) wasn't even in the USA until the 1920s. My father's side came from Austria before WWII to escape persecution from Hitler, they were Catholics (Blechl means bell ringer in Austrian, meaning church bells), and they were under Hitler's target list just as much as Jewish people were targeted. Now my adoptive father's family history is Native American. My mom's side came from Mexico (legally I might add), actually she is only 2nd generation born in the USA. My family has never been on the side of pro-slavery, quite the opposite.